Mastering Remote IoT Monitoring With SSH: A Download Guide For Tech Enthusiasts
Hey there, tech-savvy friend! If you're reading this, chances are you're diving headfirst into the world of remote IoT monitoring with SSH. Let’s face it—our world is getting smarter, and IoT devices are everywhere. From smart homes to industrial automation, monitoring these devices remotely has become crucial. But here's the thing: doing it right can be tricky. That's why we're breaking down everything you need to know about remote IoT monitoring with SSH and even throwing in some download tips to get you started. So, buckle up, because this is gonna be an eye-opening ride!
You might be wondering, "What exactly is remote IoT monitoring with SSH?" Well, it's like giving your devices a virtual handshake from afar. SSH, or Secure Shell, is the golden ticket to securely accessing and managing your IoT devices remotely. It’s not just about convenience—it’s about ensuring your data stays safe while you control your gadgets from anywhere in the world. Sounds cool, right?
Before we dive deeper, let me drop a quick note: This guide isn’t just any ordinary article. It’s packed with actionable insights, real-world examples, and even some nerdy jokes to keep things light. Whether you're a seasoned pro or just starting out, you’ll find something valuable here. So, without further ado, let’s jump in!
Read also:Lara Rose Ofleaks The Untold Story You Need To Know
Understanding Remote IoT Monitoring
Alright, let’s start with the basics. Remote IoT monitoring is essentially about keeping tabs on your IoT devices without being physically present. Imagine having a fleet of sensors spread across a vast area—how do you ensure they’re all functioning properly? That’s where remote monitoring comes in. It allows you to track performance, troubleshoot issues, and gather data in real-time. And when you combine it with SSH, you’re adding an extra layer of security to the mix.
SSH, or Secure Shell, is like a digital fortress. It encrypts your communications, making it nearly impossible for hackers to intercept your data. This is especially important when dealing with IoT devices, which are often targeted by cybercriminals. With SSH, you can rest easy knowing your devices are protected while you monitor them from afar.
Why Remote IoT Monitoring Matters
In today’s interconnected world, IoT devices are everywhere. From smart thermostats to industrial machinery, these devices generate massive amounts of data. But here’s the catch: managing all that data manually is nearly impossible. That’s where remote monitoring shines. It helps you stay on top of things without breaking a sweat.
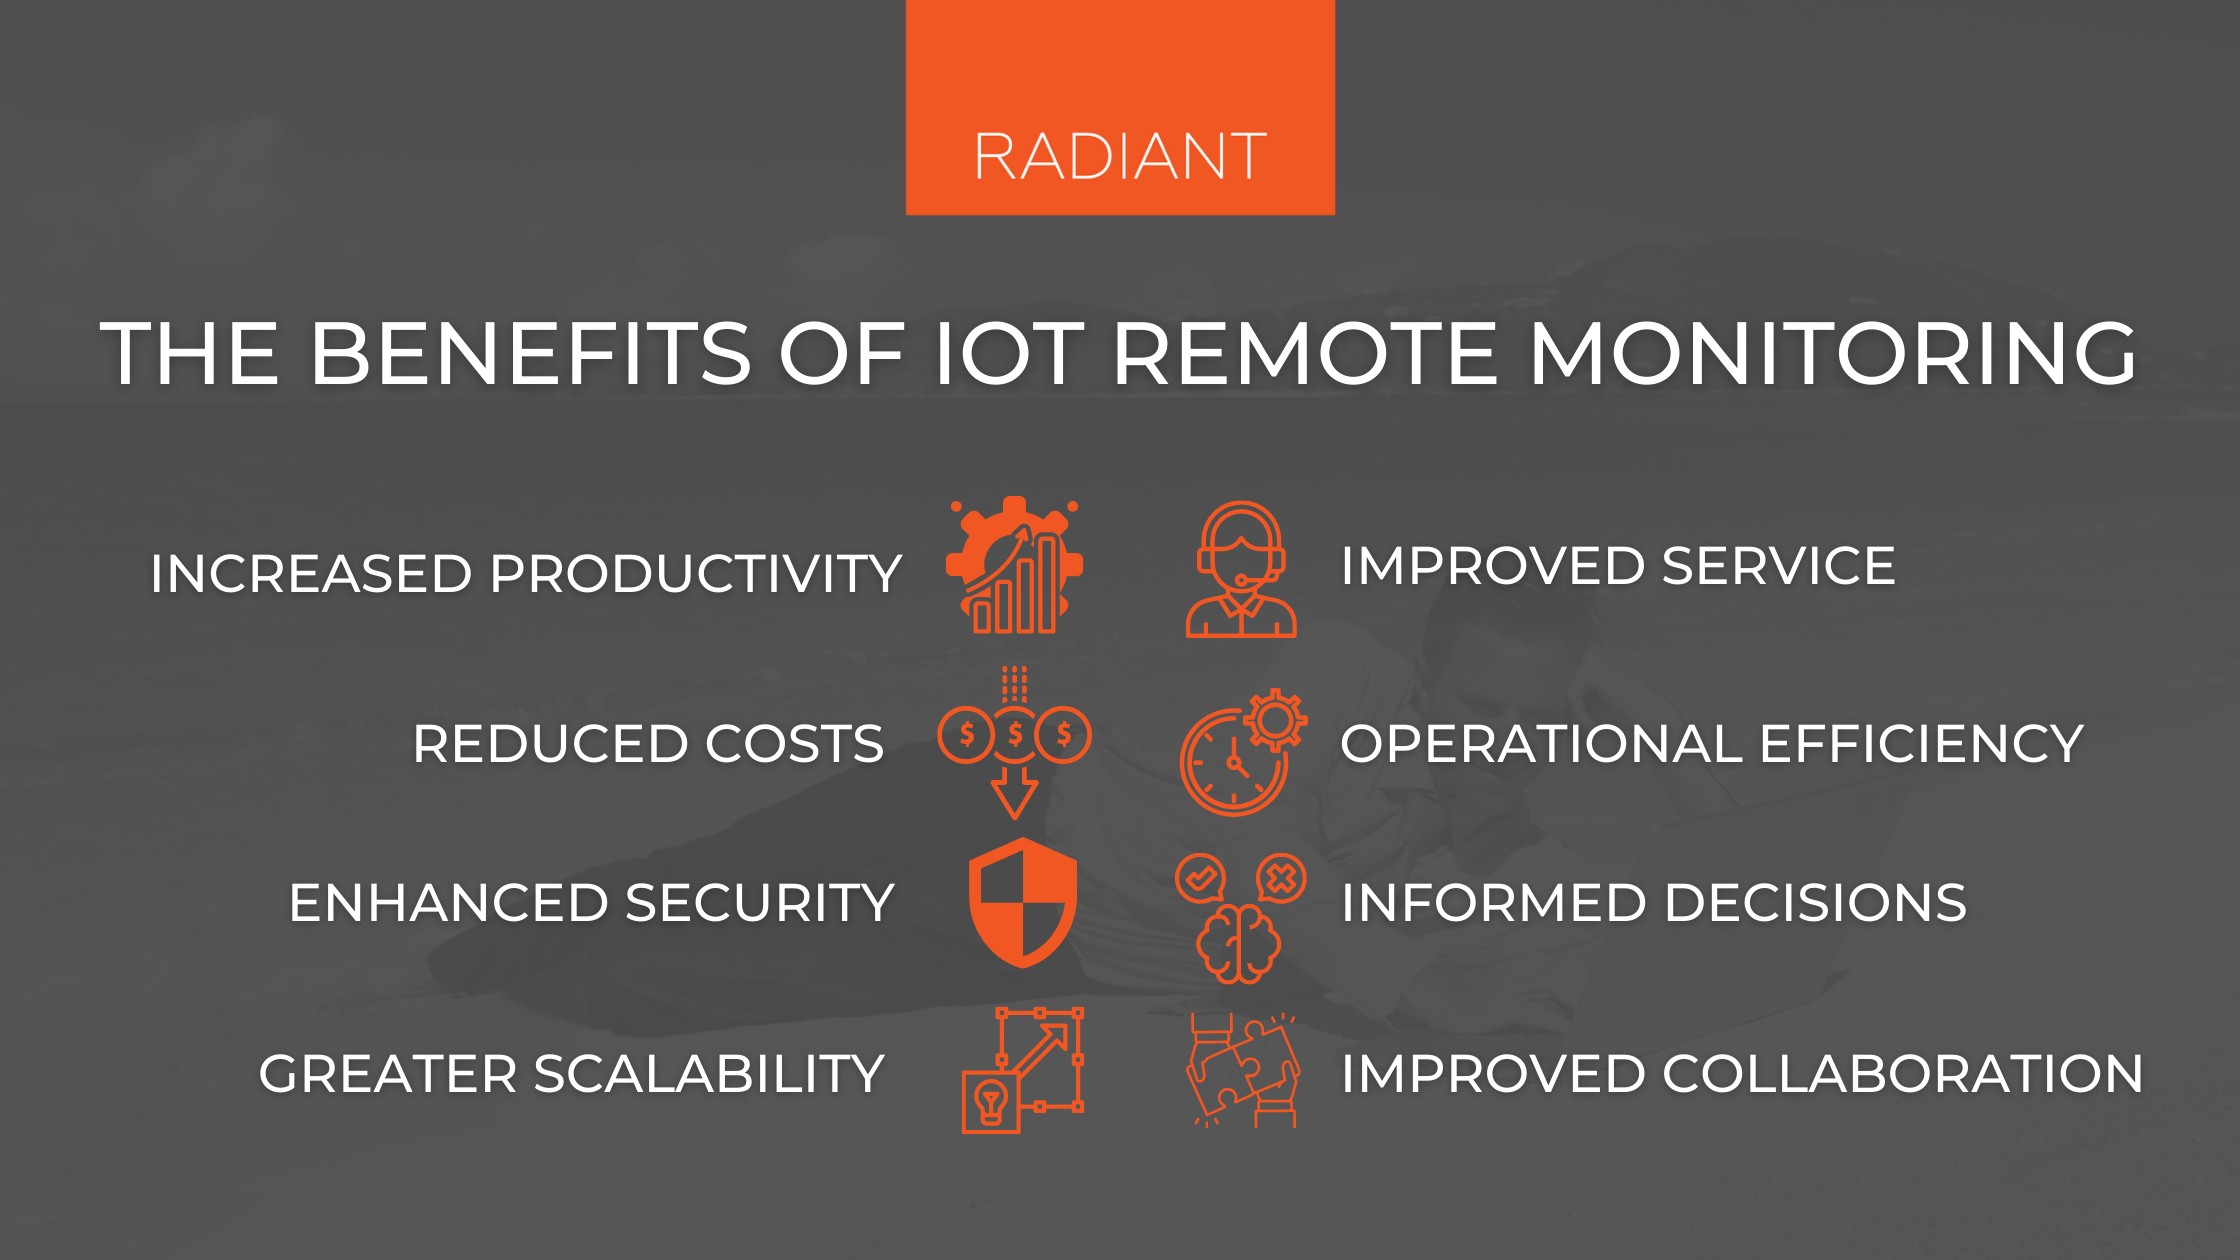
Here are a few reasons why remote IoT monitoring is a game-changer:
- Efficiency: Monitor multiple devices simultaneously without needing to be physically present.
- Cost Savings: Reduce the need for on-site visits, saving time and money.
- Security: Detect and address potential threats before they become major issues.
- Scalability: Easily scale your operations as your IoT network grows.
SSH: The Backbone of Secure Remote Access
Now, let’s talk about SSH. Secure Shell is more than just a protocol—it’s a lifeline for anyone managing remote devices. It provides a secure channel for communication between your computer and the IoT devices you’re monitoring. This means you can execute commands, transfer files, and even manage configurations—all without worrying about unauthorized access.
One of the coolest things about SSH is its ability to handle encryption. Whether you’re dealing with sensitive data or just routine operations, SSH ensures everything stays private. Plus, it supports public-key authentication, which means you can log in without needing to enter a password every time. Talk about convenience!
Read also:What Happened To Chuck Todd The Inside Scoop Yoursquove Been Waiting For
How SSH Works in IoT Monitoring
So, how exactly does SSH fit into the world of IoT monitoring? Picture this: You have a weather station set up in a remote location. Using SSH, you can connect to the device, check its status, and even update its firmware—all from the comfort of your desk. The process is simple:
- Establish an SSH connection to the device.
- Run commands to retrieve data or perform actions.
- Disconnect once you’re done.
It’s like having a virtual assistant for your IoT devices. And the best part? It’s all done securely, so you can focus on what matters most.
Setting Up Remote IoT Monitoring with SSH
Ready to get your hands dirty? Setting up remote IoT monitoring with SSH isn’t as complicated as it sounds. Here’s a step-by-step guide to help you get started:
Step 1: Install SSH on Your Device
First things first, you’ll need to ensure that SSH is installed on your IoT device. Most Linux-based devices come with SSH pre-installed, but if yours doesn’t, you can easily install it using a package manager like apt or yum. Just run a quick command, and you’re good to go.
Step 2: Configure SSH Settings
Once SSH is installed, it’s time to configure the settings. You’ll want to enable public-key authentication and disable password-based logins for added security. This step might sound technical, but trust me, it’s worth it. Not only does it make your setup more secure, but it also saves you time in the long run.
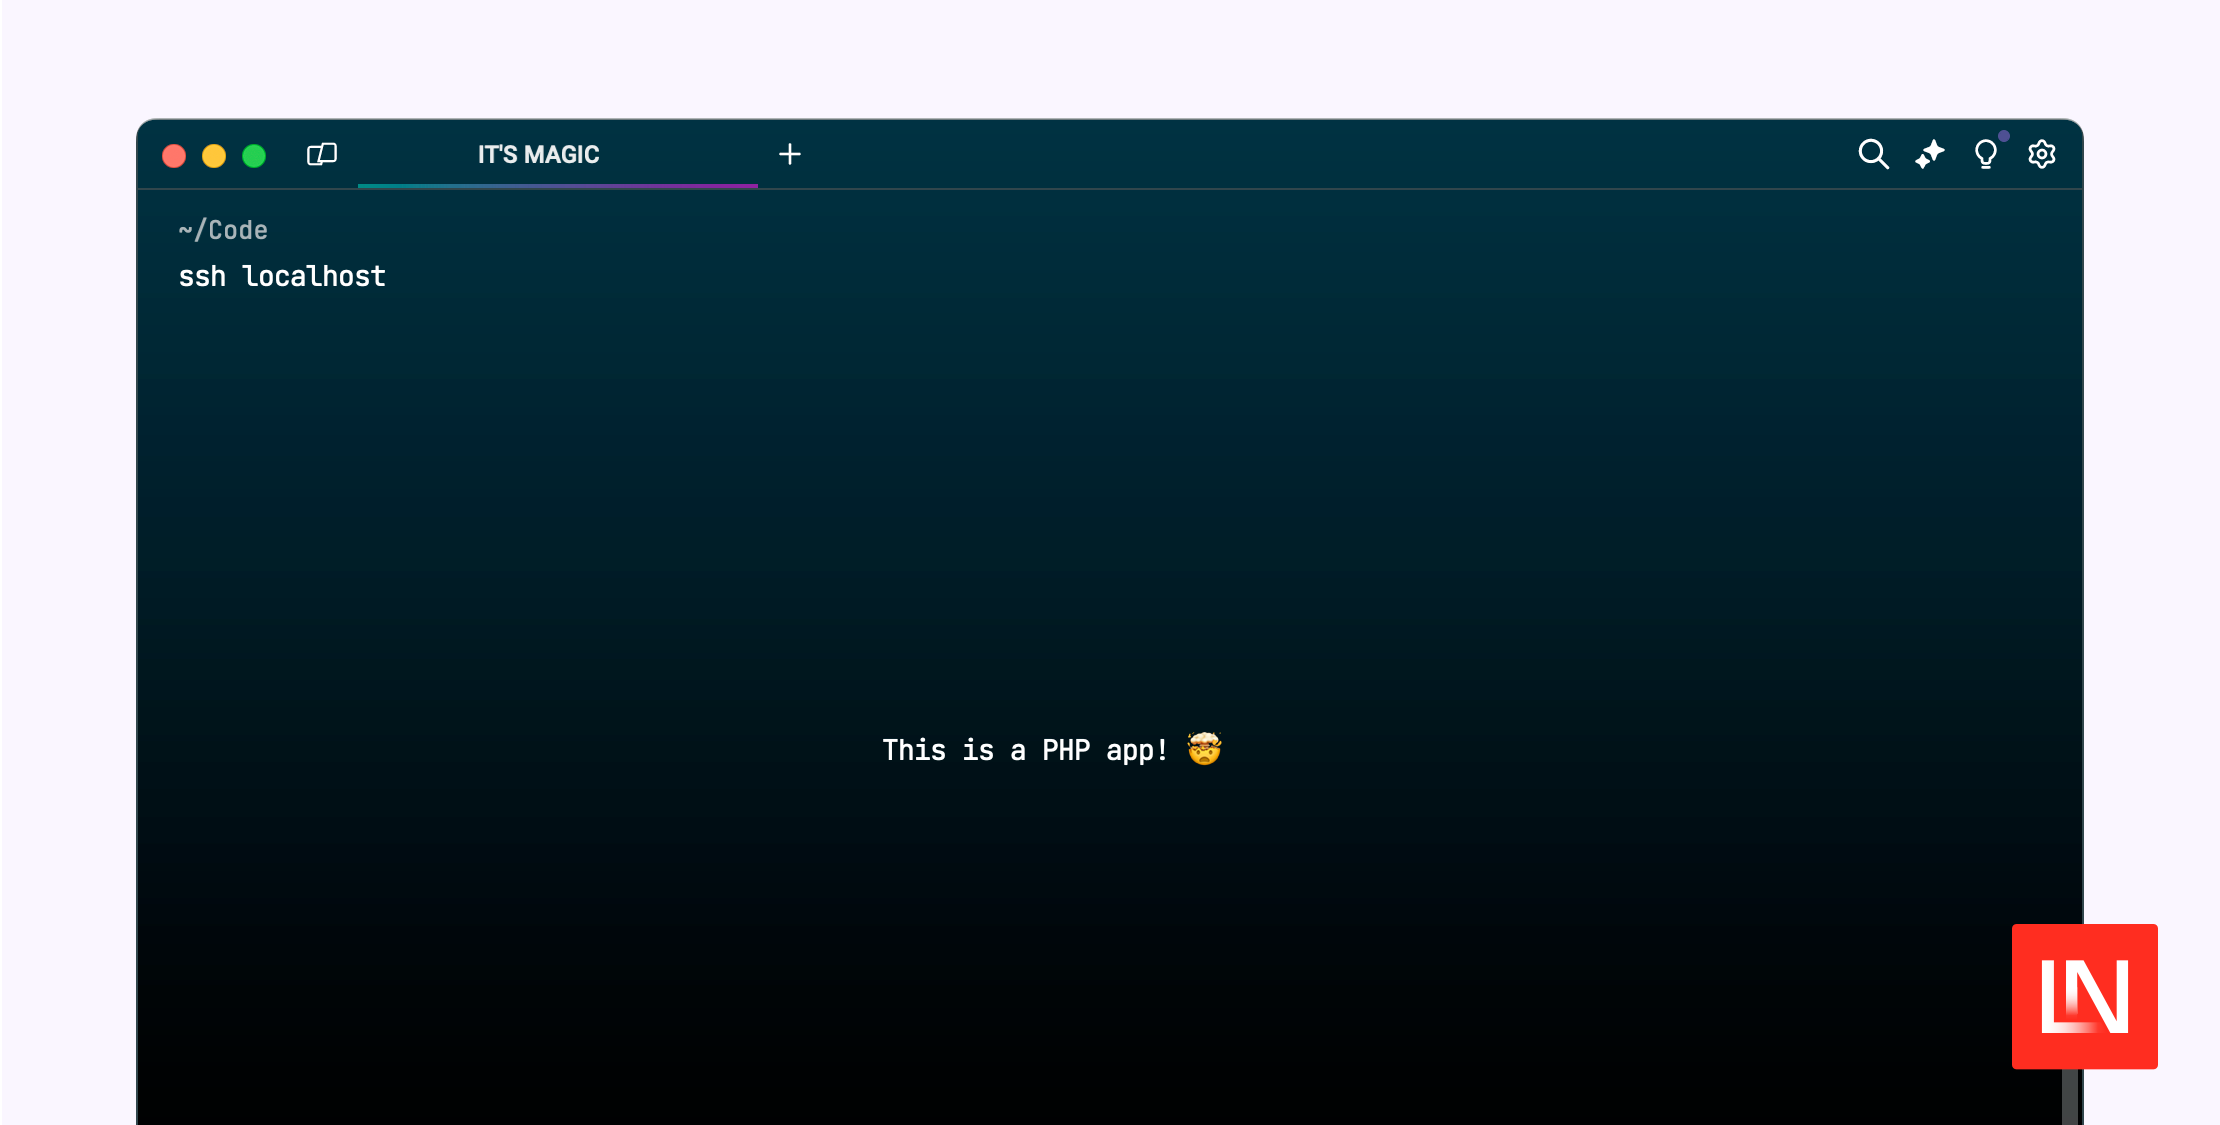
Step 3: Connect to Your Device
With everything set up, it’s time to connect to your device. Open your terminal, type in the SSH command, and voilà—you’re connected. From here, you can start monitoring your device, running commands, and even transferring files. It’s like having a direct line to your IoT setup.
Tools and Software for Remote IoT Monitoring
When it comes to remote IoT monitoring with SSH, having the right tools can make all the difference. Here are a few must-haves:
- SSH Clients: Tools like PuTTY (for Windows) and Terminal (for macOS/Linux) are essential for establishing SSH connections.
- Monitoring Software: Platforms like Grafana and Prometheus can help you visualize data from your IoT devices in real-time.
- Automation Scripts: Use tools like Python or Bash to automate repetitive tasks and streamline your workflow.
Having the right tools at your disposal can save you hours of work and make your monitoring experience smoother than ever.
Choosing the Right Tools
With so many options available, choosing the right tools can be overwhelming. Here are a few tips to help you decide:
- Consider your specific needs and budget.
- Look for tools that integrate well with your existing systems.
- Read reviews and seek recommendations from other users.
Remember, the best tool is the one that works for you. Don’t be afraid to experiment and find what fits your workflow best.
Best Practices for Secure Remote IoT Monitoring
Security should always be a top priority when dealing with IoT devices. Here are a few best practices to keep your setup safe:
- Use Strong Passwords: Even with SSH, it’s important to use strong, unique passwords for added protection.
- Enable Two-Factor Authentication: This adds an extra layer of security to your login process.
- Keep Software Up-to-Date: Regularly update your devices and software to patch any vulnerabilities.
- Limit Access: Only grant access to trusted users and devices.
By following these best practices, you can ensure your remote IoT monitoring setup remains secure and reliable.
Common Security Threats to Watch Out For
While SSH provides a secure connection, it’s not foolproof. Here are a few common security threats to be aware of:
- Brute-Force Attacks: Hackers use automated tools to guess passwords.
- Man-in-the-Middle Attacks: Attackers intercept and alter communications between you and your device.
- Unpatched Vulnerabilities: Outdated software can leave your devices exposed to attacks.
Staying vigilant and keeping your systems updated can help mitigate these risks.
Downloading and Installing SSH Clients
Now, let’s talk about downloading and installing SSH clients. Depending on your operating system, the process can vary slightly. Here’s a quick rundown:
For Windows Users
Windows users have several options for SSH clients. One of the most popular is PuTTY. It’s lightweight, easy to use, and supports all the features you need for remote IoT monitoring. To install PuTTY, simply download the installer from their official website and follow the instructions.
For macOS and Linux Users
Mac and Linux users are in luck—SSH is already built into the terminal. All you need to do is open your terminal and start using it. If you prefer a graphical interface, tools like MobaXterm are great alternatives.
Real-World Examples of Remote IoT Monitoring
To give you a better idea of how remote IoT monitoring with SSH works in practice, here are a few real-world examples:
Smart Agriculture
Farmers are using IoT sensors to monitor soil moisture, temperature, and other environmental factors. With SSH, they can access this data remotely, make informed decisions, and optimize their farming practices.
Industrial Automation
In manufacturing plants, IoT devices are used to monitor equipment performance and predict maintenance needs. SSH allows engineers to access these devices from anywhere, ensuring smooth operations and minimizing downtime.
Future Trends in Remote IoT Monitoring
As technology continues to evolve, so does the world of remote IoT monitoring. Here are a few trends to watch out for:
- AI and Machine Learning: These technologies are being used to analyze IoT data and predict potential issues before they occur.
- 5G Connectivity: Faster and more reliable networks will enable real-time monitoring on a massive scale.
- Edge Computing: Processing data closer to the source will reduce latency and improve efficiency.
These advancements will undoubtedly transform the way we approach remote IoT monitoring in the years to come.
How to Stay Ahead of the Curve
Keeping up with the latest trends can be challenging, but here are a few tips to help you stay ahead:
- Follow industry blogs and publications.
- Attend conferences and webinars.
- Engage with online communities and forums.
By staying informed, you can ensure your remote IoT monitoring setup remains cutting-edge.
Conclusion: Take Action and Start Monitoring
And there you have it—a comprehensive guide to remote IoT monitoring with SSH. Whether you’re a tech enthusiast or a professional, this setup can revolutionize the way you manage your IoT devices. So, what are you waiting for? Download the necessary tools, set up your SSH connections, and start monitoring like a pro!
Before you go, don’t forget to leave a comment and share your thoughts. And if you found this article helpful, be sure to check out our other guides on all things tech-related. Until next time, happy monitoring!
Table of Contents
- Understanding Remote IoT Monitoring
- SSH: The Backbone of Secure Remote Access
- Setting Up Remote IoT Monitoring with SSH
- Tools and Software for Remote IoT Monitoring
- Best Practices for Secure Remote IoT Monitoring
- Downloading and Installing SSH Clients
- Real-World Examples of Remote IoT Monitoring
- Future Trends in Remote IoT Monitoring
- Conclusion: Take Action and Start Monitoring
Article Recommendations