Mastering RemoteIoT VPC Network With Raspberry Pi And Free AWS: The Ultimate Guide
Hey there, tech enthusiasts! If you're diving into the world of IoT, cloud computing, and networking, you've come to the right place. Let's talk about something seriously cool: RemoteIoT VPC network with Raspberry Pi and Free AWS. Picture this: you’ve got a tiny device that can connect to the internet, control gadgets remotely, and even tap into powerful cloud services—all for free. Sounds like a dream, right? Well, it’s totally doable, and I’m here to break it down for you step by step.
Now, before we dive into the nitty-gritty, let me set the stage. Imagine you’re building a smart home system, automating your office, or even creating a weather station. All of these projects can be powered by a Raspberry Pi connected to a secure Virtual Private Cloud (VPC) on AWS. Not only does this setup give you control over your devices, but it also keeps everything safe and scalable. Stick around, because this is where the magic happens.
Whether you're a seasoned developer or just starting out, this guide will walk you through everything you need to know. From setting up your Raspberry Pi to leveraging AWS’s free tier, we’ve got you covered. So, grab a coffee, get comfy, and let’s dive into the world of remote IoT networking!
Read also:Jd Vances Mother Obituary A Journey Through Tragedy And Legacy
Table of Contents
- What is RemoteIoT VPC Network?
- Raspberry Pi: The Heart of Your IoT Project
- AWS Free Tier: Why It’s a Game-Changer
- Setting Up Your VPC Network
- Connecting Raspberry Pi to AWS
- Securing Your RemoteIoT VPC Network
- Real-World Use Cases
- Troubleshooting Tips
- Future Trends in RemoteIoT
- Conclusion: Take Action Today!
What is RemoteIoT VPC Network?
Alright, let’s start with the basics. A RemoteIoT VPC network is essentially a secure, isolated section of the AWS cloud where your IoT devices—like your trusty Raspberry Pi—can communicate with each other and with the outside world. Think of it as a private playground for all your connected gadgets. The VPC ensures that your data stays safe while allowing you to control and monitor your devices from anywhere in the world.
Here’s the kicker: AWS offers a free tier that includes everything you need to get started with VPC networking. This means you can set up your IoT environment without breaking the bank. Plus, with the flexibility of the Raspberry Pi, you’ve got endless possibilities for innovation.
Why VPC Matters for IoT
VPC isn’t just another buzzword in the tech world; it’s a crucial piece of the puzzle when it comes to IoT projects. By using a VPC, you can:
- Isolate your IoT devices from the public internet, reducing the risk of cyberattacks.
- Create custom subnets, routing tables, and network gateways to tailor your network to your needs.
- Scale your infrastructure as your project grows, ensuring you’re always ready for the next big thing.
Raspberry Pi: The Heart of Your IoT Project
Now, let’s talk about the star of the show: the Raspberry Pi. This little device is a powerhouse when it comes to IoT projects. Whether you’re building a home automation system, a smart garden, or even a drone, the Raspberry Pi is your go-to solution. It’s affordable, versatile, and easy to use—making it perfect for both beginners and pros.
Key Features of Raspberry Pi
Here’s why the Raspberry Pi is such a game-changer:
- Compact Size: It’s small enough to fit in your pocket but powerful enough to run complex applications.
- Open-Source: With a massive community of developers and tons of resources available, you’ll never run out of ideas.
- Compatibility: It works seamlessly with a wide range of sensors, cameras, and other peripherals.
AWS Free Tier: Why It’s a Game-Changer
Let’s face it: cloud computing can be expensive. But with AWS’s free tier, you can experiment with their services without worrying about costs. This includes access to EC2 instances, S3 storage, and—you guessed it—VPC networking. For the first 12 months, you can use these services for free, giving you plenty of time to test and refine your IoT setup.
Read also:Sabrina Banks Leaked The Inside Scoop You Need To Know
But wait, there’s more! Even after the free tier expires, AWS offers a range of affordable pricing options that make it easy to scale your project as needed. So, whether you’re a hobbyist or a small business, AWS has got your back.
What’s Included in the Free Tier?
Here’s a quick rundown of what you get with AWS’s free tier:
- 750 hours per month of EC2 instance usage.
- 20GB of S3 storage.
- Unlimited VPC networking resources.
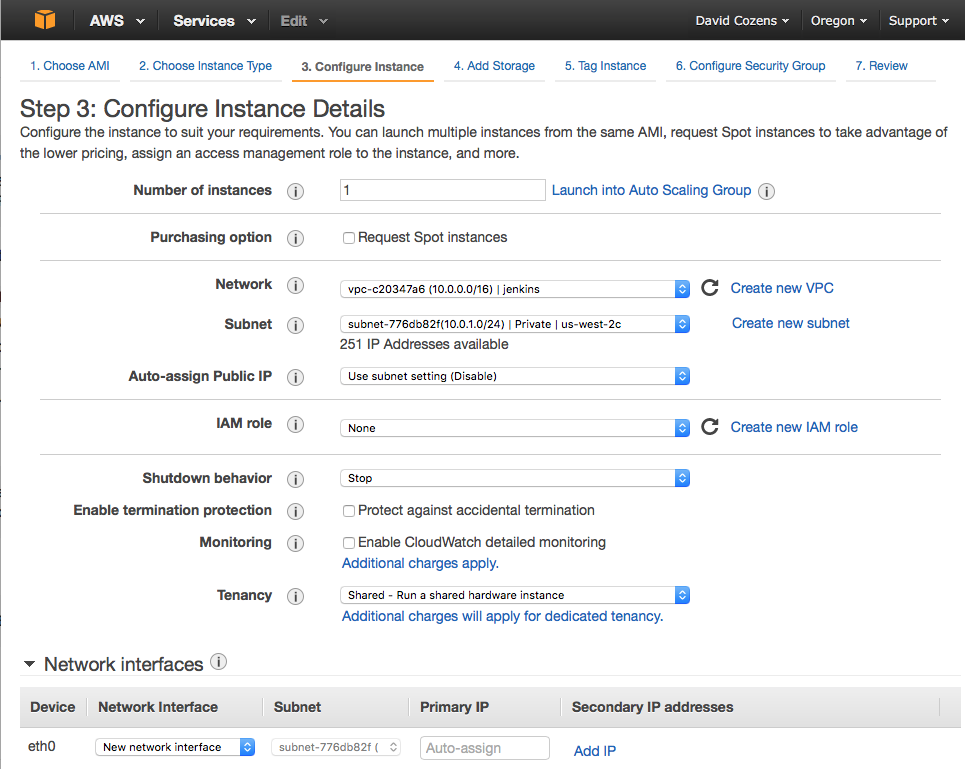
Setting Up Your VPC Network
Alright, let’s get our hands dirty. Setting up a VPC network might sound intimidating, but trust me, it’s easier than you think. Follow these steps, and you’ll have your network up and running in no time.
Step 1: Create a New VPC
Log in to your AWS Management Console and navigate to the VPC dashboard. Click on “Create VPC” and give your new network a name. Make sure to choose a CIDR block that’s large enough for your needs but not so large that it wastes IP addresses.
Step 2: Configure Subnets
Subnets are like smaller networks within your VPC. You’ll want to create at least two: one for public access and one for private communication. This setup ensures that your IoT devices can communicate securely while still being accessible from the outside world.
Step 3: Set Up Security Groups
Security groups act as virtual firewalls for your VPC. Define rules that allow or deny traffic based on IP addresses, ports, and protocols. This is where you can really tighten up your network’s security.
Connecting Raspberry Pi to AWS
Once your VPC is set up, it’s time to connect your Raspberry Pi. This involves a few key steps:
Step 1: Install Necessary Software
Make sure your Raspberry Pi is running the latest version of Raspberry Pi OS. You’ll also need to install AWS CLI (Command Line Interface) to interact with your VPC.
Step 2: Configure SSH Access
SSH (Secure Shell) allows you to remotely access your Raspberry Pi from anywhere. Set up SSH keys and configure your security group to allow SSH traffic.
Step 3: Test the Connection
Use the AWS CLI to test your connection. If everything’s set up correctly, you should be able to SSH into your Raspberry Pi from your VPC.
Securing Your RemoteIoT VPC Network
Security is paramount when it comes to IoT projects. Here are a few tips to keep your network safe:
- Use strong passwords and enable two-factor authentication wherever possible.
- Regularly update your software and firmware to patch any vulnerabilities.
- Monitor your network for suspicious activity and take action immediately if anything seems off.
Real-World Use Cases
So, what can you actually do with a RemoteIoT VPC network powered by Raspberry Pi and AWS? The possibilities are endless! Here are a few examples:
Smart Home Automation
Control your lights, thermostat, and security system from anywhere in the world. With a Raspberry Pi as the brain of your smart home, you can automate everything from watering your plants to locking your doors.
Industrial IoT
Monitor and manage industrial equipment in real-time. From tracking inventory levels to predicting maintenance needs, IoT can revolutionize the way businesses operate.
Environmental Monitoring
Set up a network of sensors to monitor air quality, temperature, and humidity. This data can be invaluable for researchers, farmers, and urban planners alike.
Troubleshooting Tips
Even the best-laid plans can hit a snag. Here are a few common issues you might encounter and how to fix them:
- Connection Problems: Double-check your security group settings and ensure that all necessary ports are open.
- Software Conflicts: Make sure all your software is up to date and that there are no conflicts between different applications.
- Network Latency: Optimize your VPC configuration to reduce latency and improve performance.
Future Trends in RemoteIoT
As technology continues to evolve, the future of RemoteIoT looks brighter than ever. Here are a few trends to keep an eye on:
- Edge Computing: Processing data closer to the source reduces latency and improves efficiency.
- 5G Connectivity: Faster, more reliable connections will enable even more advanced IoT applications.
- Artificial Intelligence: AI-powered analytics will help businesses make smarter decisions based on IoT data.
Conclusion: Take Action Today!
There you have it—everything you need to know about setting up a RemoteIoT VPC network with Raspberry Pi and Free AWS. Whether you’re building a smart home, automating your business, or exploring the possibilities of IoT, this setup gives you the tools you need to succeed.
So, what are you waiting for? Grab your Raspberry Pi, sign up for AWS, and start building your dream project. And don’t forget to share your experience with the community. Who knows? You might just inspire someone else to take the leap into the world of IoT.
Thanks for sticking around, and happy tinkering!
Article Recommendations