Mastering Remote Access Raspberry Pi SSH Over The Internet On Windows 10
So, you're here because you want to dive deep into the world of remote access for your Raspberry Pi using SSH over the internet from a Windows 10 device, right? Let's be real—this isn't just some random tech trick; it's a game-changer for anyone who loves tinkering with gadgets or managing servers from afar. Imagine being able to control your Raspberry Pi setup no matter where you are. Sounds awesome, huh? Well, buckle up, because we're about to break it down step by step so you can get your hands dirty and make this magic happen.
Now, before we jump into the nitty-gritty, let's clear the air. Remote access isn't just for tech wizards anymore. With tools like SSH (Secure Shell), even beginners can set up secure connections and manage their Raspberry Pi projects from anywhere in the world. Whether you're automating home systems, running a web server, or just geeking out with code, SSH is your best friend.
And hey, if you're using Windows 10, you're in luck. Microsoft has made it super easy to integrate SSH into your workflow without needing to download tons of extra software. So, whether you're at home, at work, or sipping coffee in some random café, you'll be able to hop onto your Pi and tweak it to perfection. Let's roll!
Read also:Mkvmoviespoint Hollywood Movies Download Your Ultimate Guide To Legal Streaming
Why SSH Is Your Go-To Tool for Remote Access Raspberry Pi
Alright, let's talk about SSH for a sec. It's not just another fancy acronym; it's the backbone of secure remote connections. SSH stands for Secure Shell, and it's a protocol that lets you access another computer over a network securely. For Raspberry Pi enthusiasts, this means you can manage files, run commands, and even troubleshoot issues from afar—all without compromising your system's security.
What Makes SSH So Special?
Here's why SSH is the golden ticket for remote access:
- Encryption: SSH encrypts all data transferred between your Windows 10 device and your Raspberry Pi, keeping prying eyes out.
- Authentication: It uses secure methods to verify your identity, so only you (or authorized users) can access your Pi.
- Flexibility: You can execute commands, transfer files, and even set up secure tunnels for other applications—all through SSH.
- Portability: Once set up, you can access your Pi from anywhere as long as you have an internet connection.
So, yeah, SSH isn't just cool—it's practical. And when you're dealing with something as versatile as a Raspberry Pi, having a reliable remote access method is essential.
Understanding the Basics of Raspberry Pi and SSH
Before we dive into the technical setup, let's cover some basics. The Raspberry Pi is a tiny but powerful computer that can do everything from running a media center to hosting a web server. It's a favorite among hobbyists, educators, and professionals alike because of its affordability and flexibility.
What You Need to Know About Raspberry Pi SSH
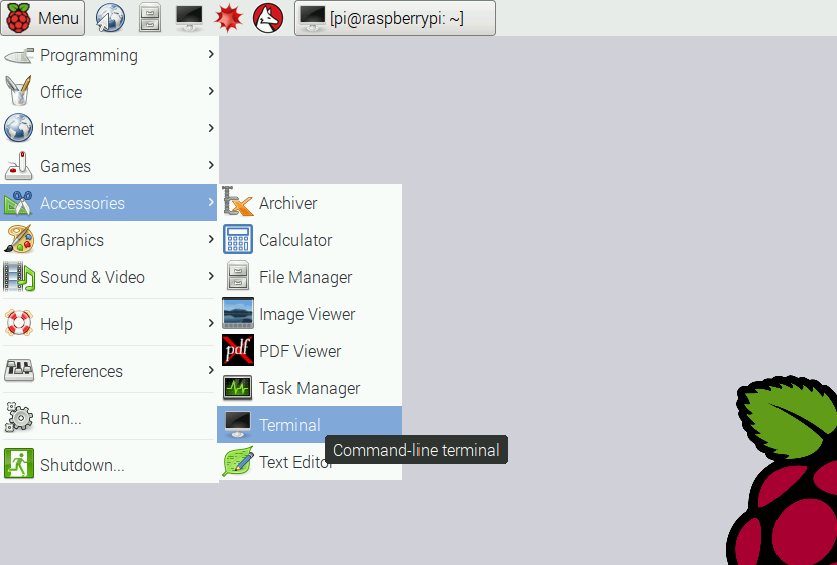
SSH comes pre-installed on most Raspberry Pi operating systems, including Raspberry Pi OS. However, it's usually disabled by default for security reasons. That means you'll need to enable it first. Here's how:
- Boot up your Raspberry Pi and log in.
- Open the terminal or go to the Raspberry Pi Configuration tool.
- Under the "Interfaces" tab, enable SSH.
- Reboot your Pi for the changes to take effect.
Once SSH is enabled, you can start connecting to your Pi remotely. But hold your horses—we're not done yet. There's more to setting up remote access over the internet than just enabling SSH.
Read also:Anna Malygon Leaked The Untold Story Behind The Viral Sensation
Setting Up SSH on Windows 10
Now that your Raspberry Pi is ready, it's time to prep your Windows 10 machine. Guess what? You don't need to install any third-party software. Windows 10 comes with an SSH client built right into the command line. Here's how you can use it:
Step 1: Open PowerShell or Command Prompt
Click on the Start menu and search for "PowerShell" or "Command Prompt." Either will work, but PowerShell is recommended because it's more powerful and modern. Once you've opened it, you're ready to go.
Step 2: Connect to Your Raspberry Pi
Assuming your Raspberry Pi and Windows 10 device are on the same network, you can connect using the Pi's local IP address. Here's the command:
ssh pi@
Replace "
Connecting Raspberry Pi SSH Over the Internet
Connecting to your Raspberry Pi over the internet adds a whole new level of convenience. But it also introduces some challenges, like security concerns and network configurations. Don't worry—we've got you covered.
Method 1: Using Port Forwarding
Port forwarding is a common technique for allowing external access to devices on your local network. Here's how it works:
- Log in to your router's admin interface.
- Find the port forwarding settings.
- Add a new rule to forward port 22 (the default SSH port) to your Raspberry Pi's local IP address.
- Save the changes and test the connection.
Keep in mind that exposing your Pi to the internet requires extra security measures, like using strong passwords or setting up SSH keys.
Method 2: Using a Third-Party Service
If you're not comfortable messing with your router settings, there are third-party services that can simplify the process. Tools like ngrok or Pagekite let you create a secure tunnel to your Raspberry Pi without needing to configure your network. Just install the software on your Pi, and you'll get a public URL that you can use to connect from anywhere.
Securing Your Raspberry Pi SSH Connection
Security should always be a top priority when setting up remote access. Here are some tips to keep your Raspberry Pi safe:
1. Change the Default SSH Port
By default, SSH runs on port 22. Changing this to a non-standard port can help deter automated attacks. Just edit the SSH configuration file on your Pi:
sudo nano /etc/ssh/sshd_config
Find the line that says "Port 22" and change it to something else, like 2222. Restart the SSH service for the changes to take effect.
2. Use SSH Keys Instead of Passwords
Passwords are okay, but SSH keys are way more secure. Here's how to set them up:
- On your Windows 10 machine, open PowerShell and run: ssh-keygen
- Follow the prompts to create a public/private key pair.
- Copy the public key to your Raspberry Pi: ssh-copy-id pi@
- Disable password authentication in the SSH config file.
With SSH keys, you won't need to enter a password every time you connect, and your connection will be more secure.
Troubleshooting Common Issues
Even the best setups can run into problems. Here are some common issues and how to fix them:
Issue 1: Can't Connect to Raspberry Pi
If you can't establish a connection, double-check the following:
- Make sure SSH is enabled on your Raspberry Pi.
- Verify that the IP address or hostname is correct.
- Ensure that your router allows incoming connections on the SSH port.
Issue 2: Connection Drops Frequently
Unstable connections can be frustrating. Try these solutions:
- Check your internet connection for stability.
- Switch to a wired connection if possible.
- Adjust the SSH timeout settings on your Pi.
Advanced Tips for Power Users
If you're ready to take your Raspberry Pi SSH skills to the next level, here are some advanced tips:
Tip 1: Automate SSH Connections
Use SSH config files to store connection details and automate the login process. Create a file called "~/.ssh/config" on your Windows 10 machine and add entries like this:
Host mypi
HostName
User pi
Port 2222
Now you can connect with a simple command: ssh mypi
Tip 2: Set Up a Dynamic DNS
If your internet service provider assigns a dynamic IP address, consider using a dynamic DNS service. This will give your Raspberry Pi a consistent hostname that you can use for remote access.
Resources and Further Reading
Here are some resources to help you dive deeper into Raspberry Pi SSH:
Conclusion: Take Control of Your Raspberry Pi Anywhere
And there you have it—a comprehensive guide to setting up remote access for your Raspberry Pi using SSH over the internet from Windows 10. Whether you're a hobbyist or a professional, mastering this skill opens up endless possibilities for your projects.
Now it's your turn. Try out the steps we've outlined, and don't hesitate to leave a comment if you have questions or need help. And hey, if you found this article useful, share it with your friends and check out our other tech guides. Let's keep the tech community thriving!
Happy tinkering, and remember—your Raspberry Pi is just a few keystrokes away, no matter where you are!
Table of Contents
- Mastering Remote Access Raspberry Pi SSH Over the Internet on Windows 10
- Why SSH Is Your Go-To Tool for Remote Access Raspberry Pi
- What Makes SSH So Special?
- Understanding the Basics of Raspberry Pi and SSH
- What You Need to Know About Raspberry Pi SSH
- Setting Up SSH on Windows 10
- Step 1: Open PowerShell or Command Prompt
- Step 2: Connect to Your Raspberry Pi
- Connecting Raspberry Pi SSH Over the Internet
- Method 1: Using Port Forwarding
- Method 2: Using a Third-Party Service
- Securing Your Raspberry Pi SSH Connection
- 1. Change the Default SSH Port
- 2. Use SSH Keys Instead of Passwords
- Troubleshooting Common Issues
- Issue 1: Can't Connect to Raspberry Pi
- Issue 2: Connection Drops Frequently
- Advanced Tips for Power Users
- Tip 1: Automate SSH Connections
- Tip 2: Set Up a Dynamic DNS
- Resources and Further Reading
- Conclusion: Take Control of Your Raspberry Pi Anywhere
Article Recommendations