Best Raspberry Pi Remote IoT Free: Unlock The Power Of Your Projects
Hey there, tech enthusiasts! If you're reading this, chances are you're diving headfirst into the world of Raspberry Pi and IoT. But hold on a sec—have you ever wondered what the best Raspberry Pi remote IoT setup is, and how you can get it all for free? Yeah, that's right, FREE! In this article, we'll break it down step by step so you can unleash the full potential of your projects without breaking the bank.
Now, let's be real. The Raspberry Pi is more than just a tiny computer; it's a game-changer for DIY enthusiasts, hobbyists, and even professionals looking to explore the world of remote IoT solutions. Whether you're building a smart home, automating your garden, or creating a weather station, the possibilities are endless. And guess what? You don't need to spend a fortune to make it happen.
In this article, we'll walk you through everything you need to know about the best Raspberry Pi remote IoT setup that's completely free. From software options to hardware configurations, we've got you covered. So grab a cup of coffee, sit back, and let's dive into the nitty-gritty of remote IoT goodness!
Read also:Mark Rober The Genius Behind Mindblowing Experiments And Inventions
Here's a quick rundown of what we'll cover:
- Understanding Raspberry Pi and Remote IoT
- Best Free Software for Raspberry Pi Remote IoT
- Setting Up Your Raspberry Pi for Remote Access
- Exploring Free Tools and Platforms
- Security Considerations for Remote IoT
- Project Ideas Using Raspberry Pi Remote IoT
- Troubleshooting Common Issues
- Best Practices for Long-Term Use
- Where to Find Free Resources
- Conclusion and Next Steps
Let's jump right in!
Understanding Raspberry Pi and Remote IoT
What is Raspberry Pi?
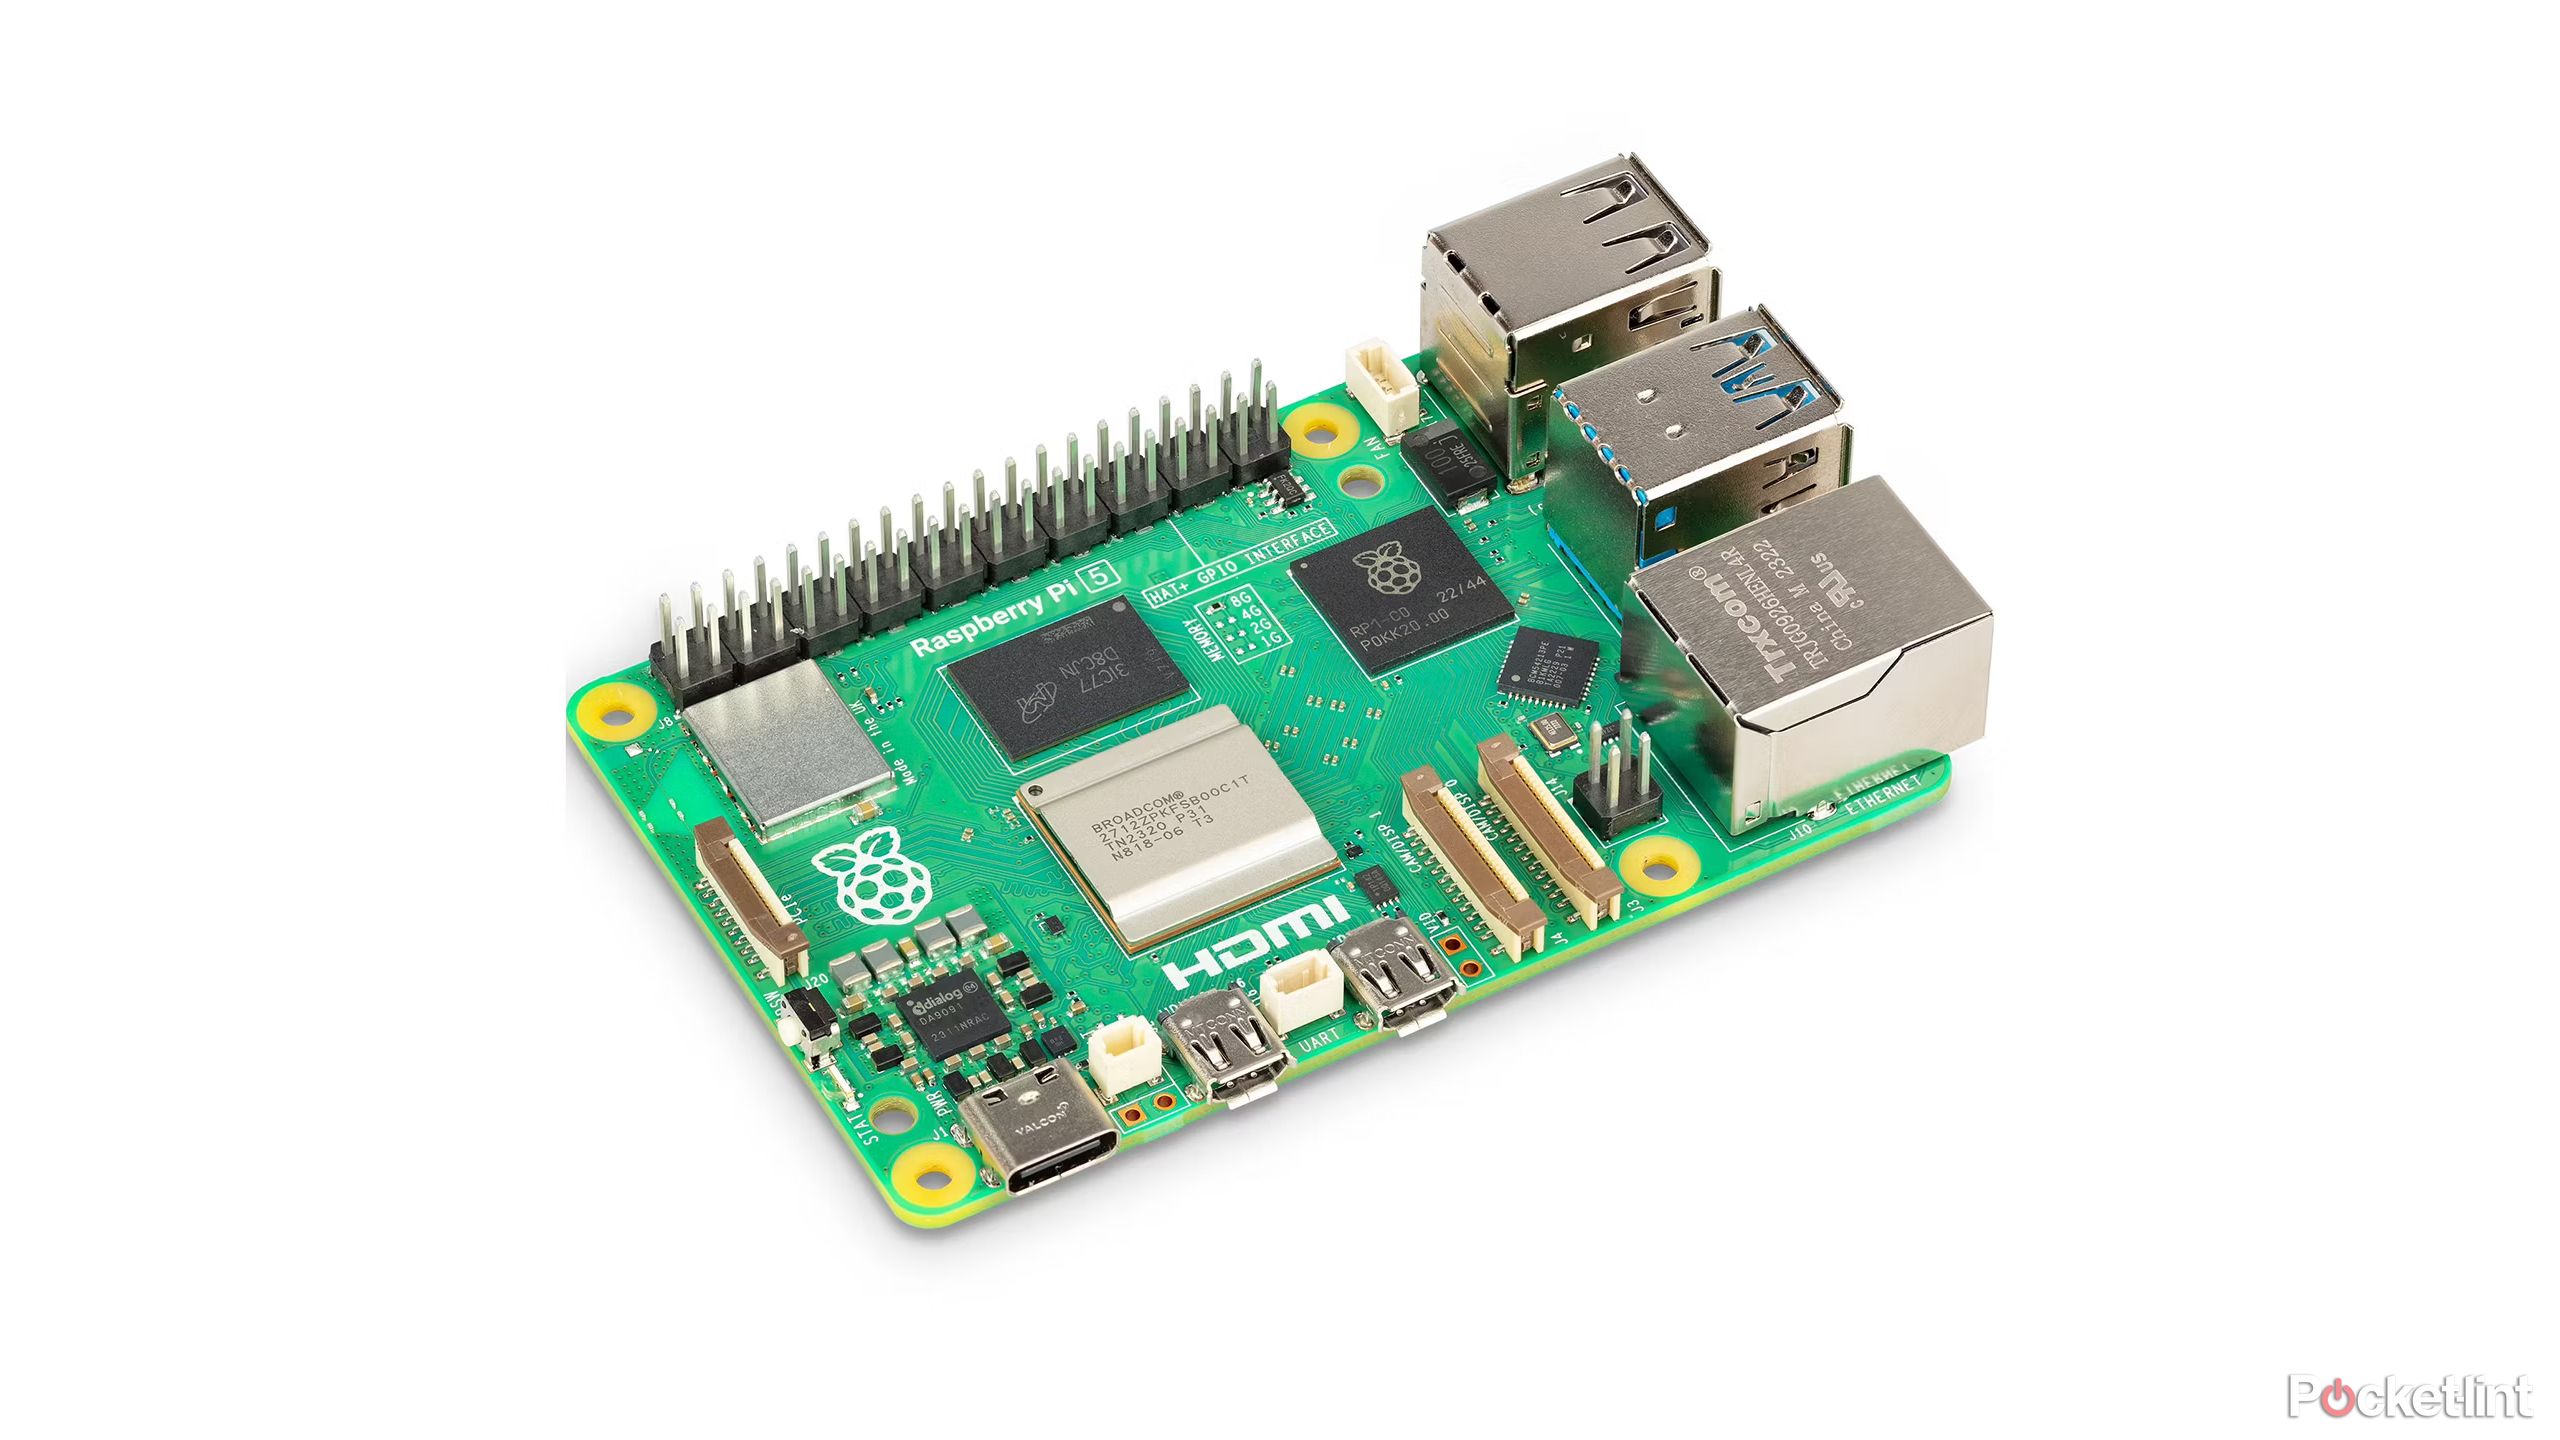
Raspberry Pi, or "RPi" as the cool kids call it, is a small, affordable computer that can be used for a wide range of applications. It's basically a mini-computer on a single board, and it's perfect for projects involving automation, robotics, and, you guessed it, IoT. The best part? It's super easy to use, even for beginners.
But wait, what exactly is IoT? IoT, or the Internet of Things, refers to a network of devices that can communicate with each other over the internet. Think smart thermostats, connected appliances, and even your fitness tracker. With Raspberry Pi, you can create your own IoT devices and control them remotely—without spending a dime on expensive software.
Best Free Software for Raspberry Pi Remote IoT
Why Go Free?
Let's face it—software can get pricey, especially when you're working on multiple projects. Luckily, there are tons of free and open-source options available for Raspberry Pi remote IoT. These tools not only save you money but also give you the flexibility to customize your setup to fit your needs.
Here are some of the best free software options for Raspberry Pi remote IoT:
Read also:Cristina Carmella Onlyfans A Rising Star In The Digital Age
- Adafruit IO: A cloud-based IoT platform that makes it easy to connect your Raspberry Pi to the internet. It's user-friendly and offers tons of tutorials to get you started.
- Home Assistant: Perfect for home automation enthusiasts, Home Assistant allows you to control all your smart devices from one central hub. And the best part? It's completely free!
- Node-RED: A visual programming tool that lets you create complex IoT workflows without writing a single line of code. It's great for beginners and advanced users alike.
Setting Up Your Raspberry Pi for Remote Access
Step-by-Step Guide
Now that you know what software to use, it's time to set up your Raspberry Pi for remote access. Here's a quick step-by-step guide to get you started:
Install the latest version of Raspberry Pi OS on your Pi. You can download it from the official Raspberry Pi website.
Enable SSH (Secure Shell) on your Pi. This will allow you to access your Pi remotely from another device.
Set up a static IP address for your Pi. This ensures that your Pi always has the same IP address, making it easier to connect to remotely.
Install and configure your chosen software. Whether you're using Adafruit IO, Home Assistant, or Node-RED, follow the instructions carefully to ensure everything is set up correctly.
And there you have it! Your Raspberry Pi is now ready for remote IoT action.
Exploring Free Tools and Platforms
What Else Can You Use?
Besides the software we mentioned earlier, there are tons of other free tools and platforms you can use for your Raspberry Pi remote IoT projects. Here are a few more options:
- MQTT: A lightweight messaging protocol that's perfect for IoT applications. It allows devices to communicate with each other efficiently, even over low-bandwidth networks.
- InfluxDB: A time-series database that's great for storing and analyzing data from your IoT devices. It's open-source and easy to integrate with other tools.
- Grafana: A visualization platform that lets you create beautiful dashboards to monitor your IoT data. It works seamlessly with InfluxDB and other databases.
Security Considerations for Remote IoT
Protecting Your Devices
Security is a big deal when it comes to remote IoT. After all, you don't want someone hacking into your smart home and turning off your lights, do you? Here are some tips to keep your Raspberry Pi and IoT devices safe:
- Use strong passwords: Make sure your passwords are long, complex, and unique. Avoid using the same password for multiple accounts.
- Enable firewalls: Firewalls can help protect your Pi from unauthorized access. Most Linux distributions come with a built-in firewall that's easy to configure.
- Keep software up to date: Regularly update your software to ensure you have the latest security patches and bug fixes.
Project Ideas Using Raspberry Pi Remote IoT
Get Inspired
Now that you have all the tools and knowledge you need, it's time to start building! Here are some project ideas to get your creative juices flowing:
- Smart Garden: Use your Raspberry Pi to monitor soil moisture, temperature, and humidity levels. You can even set up an automated watering system to keep your plants happy and healthy.
- Weather Station: Build your own weather station using sensors and your Raspberry Pi. You can track temperature, humidity, wind speed, and more, and even share your data with online weather platforms.
- Home Security System: Create a DIY home security system using motion sensors, cameras, and your Raspberry Pi. You can receive alerts on your phone whenever someone enters your home.
Troubleshooting Common Issues
Stuck? We've Got You Covered
Even the best-laid plans can hit a snag. Here are some common issues you might encounter when working with Raspberry Pi remote IoT, and how to fix them:
- Can't connect to your Pi: Make sure SSH is enabled and check your IP address. Also, ensure your network settings are correct.
- Software not working: Check for updates and ensure all dependencies are installed. Consult the documentation for troubleshooting tips.
- Slow performance: Optimize your code and reduce unnecessary processes. Consider upgrading your hardware if needed.
Best Practices for Long-Term Use
Keep It Running Smoothly
To ensure your Raspberry Pi remote IoT setup continues to work smoothly over the long term, follow these best practices:
- Regular backups: Back up your data and configurations regularly to avoid losing important information.
- Monitor performance: Keep an eye on your Pi's performance and make adjustments as needed to ensure optimal operation.
- Stay updated: Keep your software and firmware up to date to take advantage of new features and security improvements.
Where to Find Free Resources
Level Up Your Knowledge
There are tons of free resources available to help you learn more about Raspberry Pi remote IoT. Here are a few places to start:
- Raspberry Pi Documentation: The official Raspberry Pi website has tons of tutorials and guides to help you get started.
- Adafruit Learning System: Adafruit offers a wide range of tutorials and projects for all skill levels.
- YouTube: There are countless videos on YouTube that cover everything from basic setup to advanced projects.
Conclusion and Next Steps
So there you have it—everything you need to know about the best Raspberry Pi remote IoT setup that's completely free. From software options to project ideas, we've covered it all. Remember, the key to success is experimentation and learning from your mistakes. So don't be afraid to dive in and get your hands dirty!
Before you go, we'd love to hear from you. What projects are you planning to build with your Raspberry Pi? Leave a comment below and let us know. And don't forget to share this article with your friends and fellow tech enthusiasts. Happy building!
Article Recommendations